Light Ray Tutorial
A quick way to add light ray (god ray) to your artwork is to use the "radial zoom blur" filter, which is available in most painting software. Below is the quick explanation on how to add light rays using radial zoom blur filter.
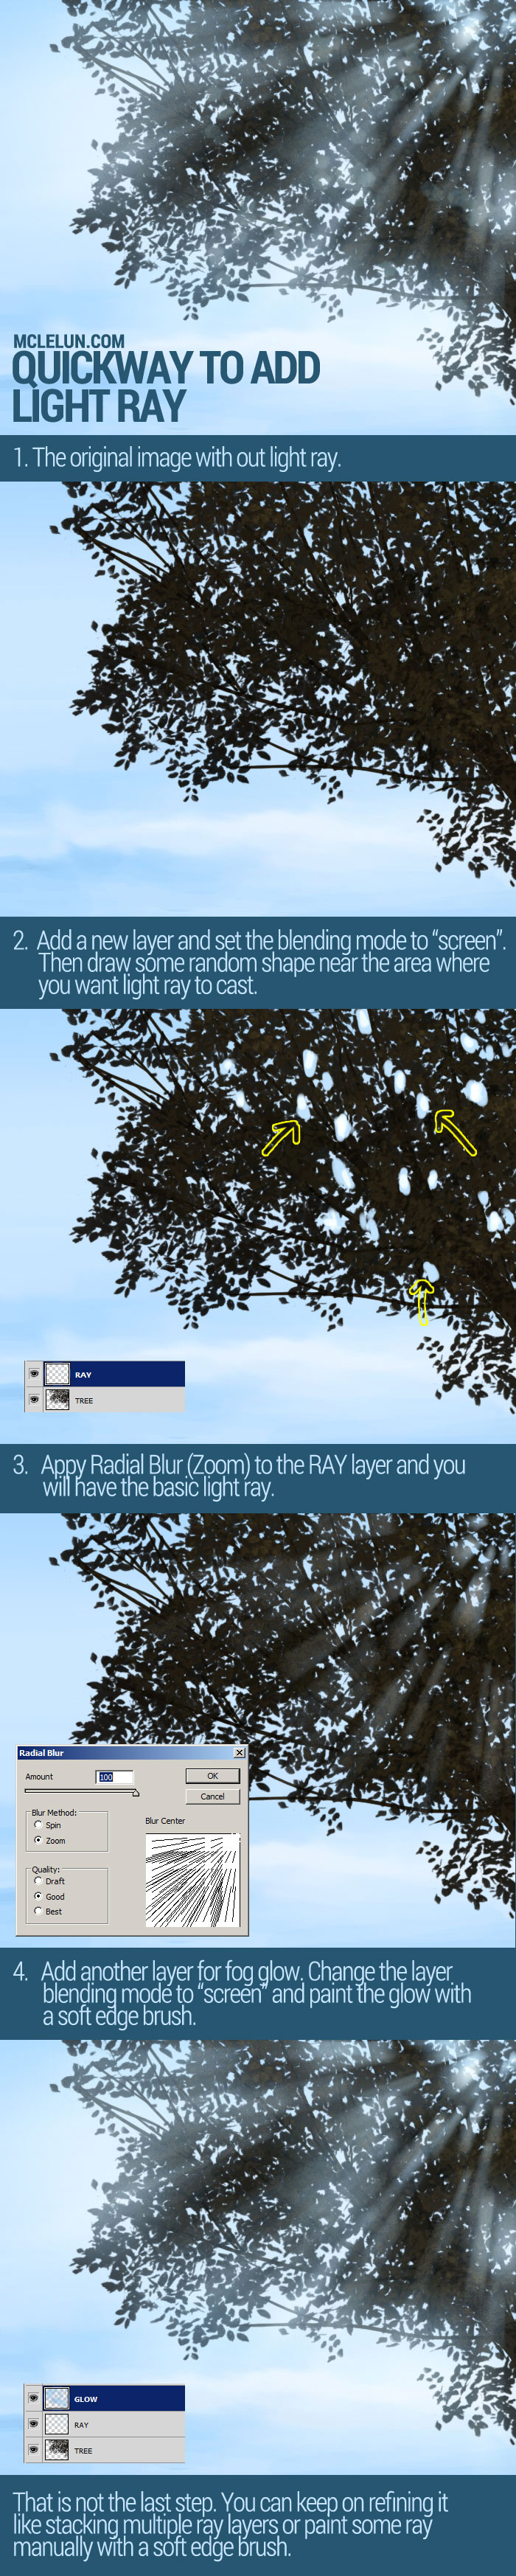
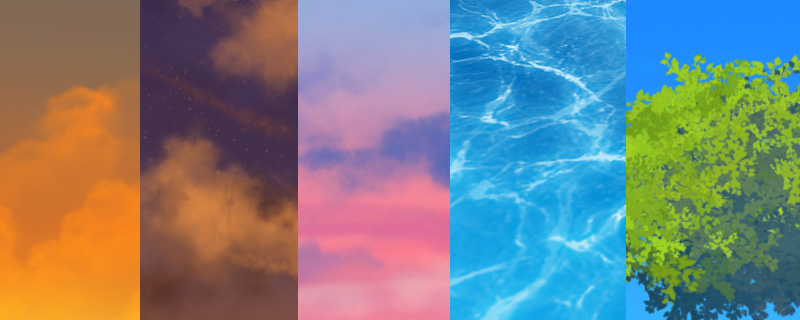
Procedural Texture
Instead of painting the light ray manually, we can also use procedural texture to generate light ray. Generally, it can be achieve with just 2 steps with Photoshop, AfterEffects or Blender3D.- Generate a procedural texture.
- Apply radial zoom blur to it.
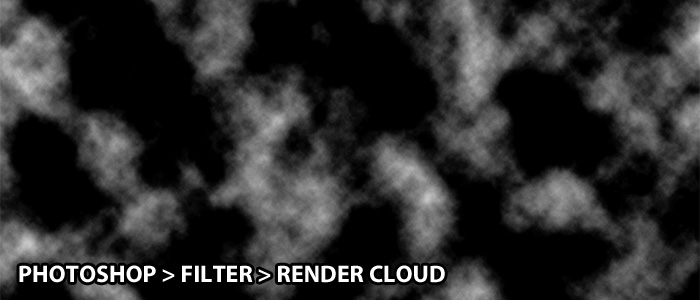
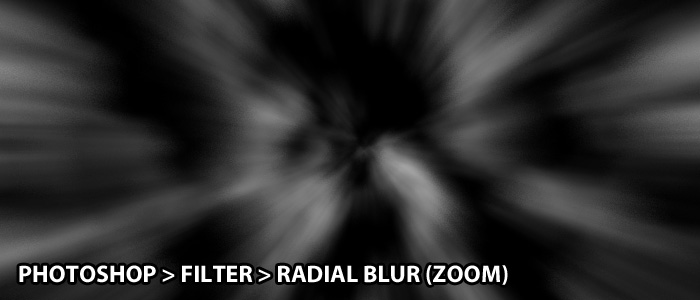
Photoshop
Generate a procedural cloud(noise) texture. Apply radial zoom blur to it. You will have to adjust the contrast/brightness to get better result.
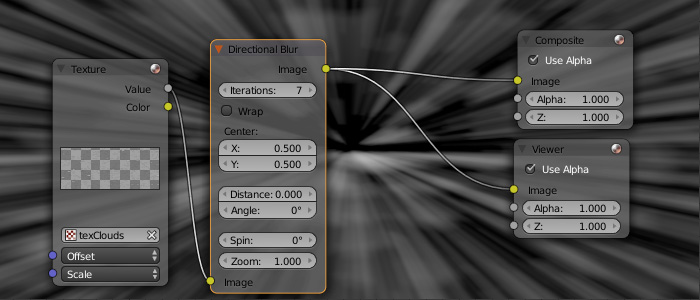
Blender3D
For Blender3D, use the procedural cloud texture (or any other texture like Musgrave). Then apply the radial zoom blur via "Directional Blur" node. Remember to change the "Iteration", "Zooms" value. You can even add in the "Spin" value if you want.
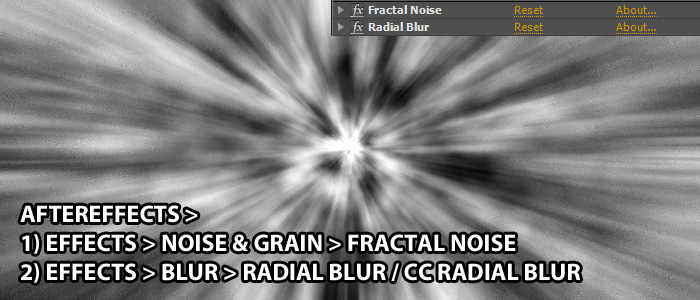
AfterEffects
For AfterEffects, use procedural texture from "Fractal Noise". Then apply the radial zoom blur via "Radial Blur" or "CC Radial Blur".
PS! There is a "Sun Beams" node which generate light ray in Blender3D. And there is a "CC Lightray" effects which generate light ray in AfterEffects.
Animation
Why procedural texture? The main reason to choose procedural texture is the ability to animate the light ray (Maybe not in Photoshop).In AfterEffects, you can animate the "Evolution" value. In Blender3D, you can offset the texture mapping. All these will simulate an effect which look like ray passing through moving clouds.
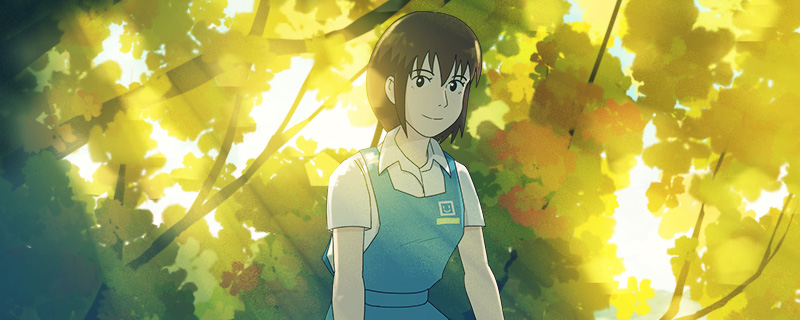
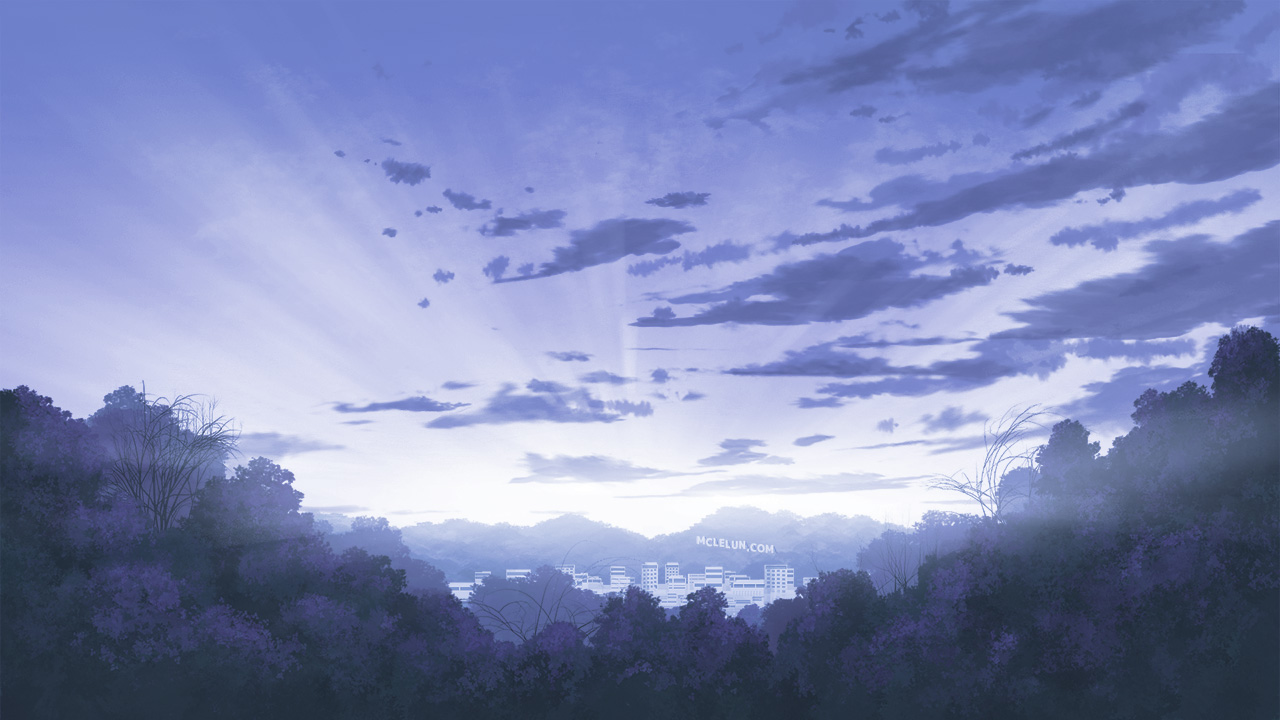
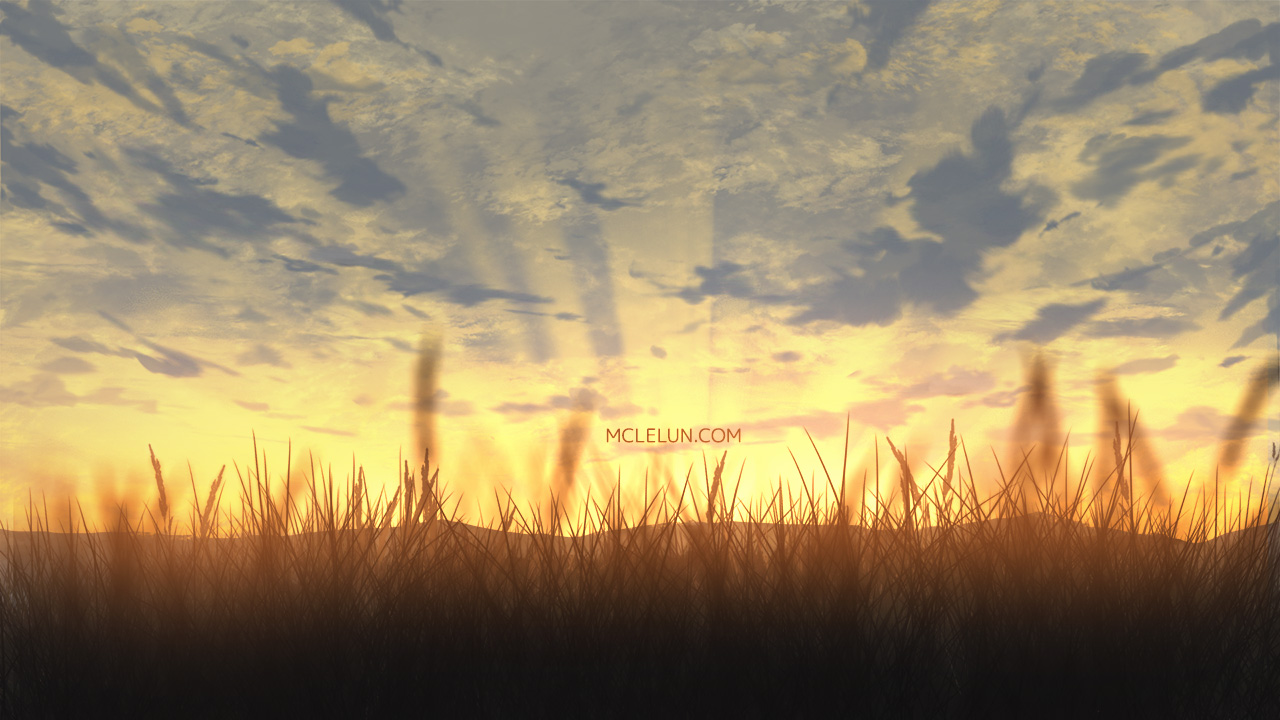
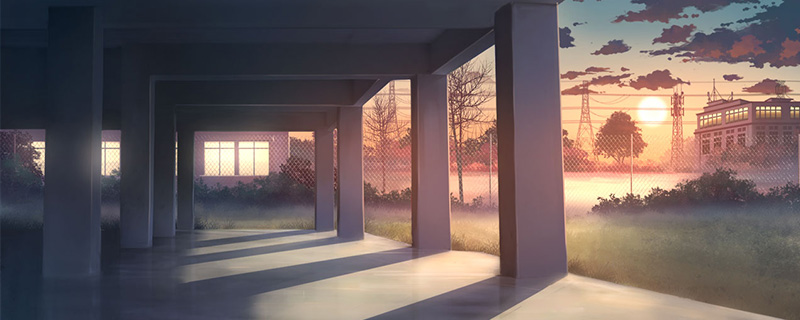
Artwork
Some of my artworks with light rays.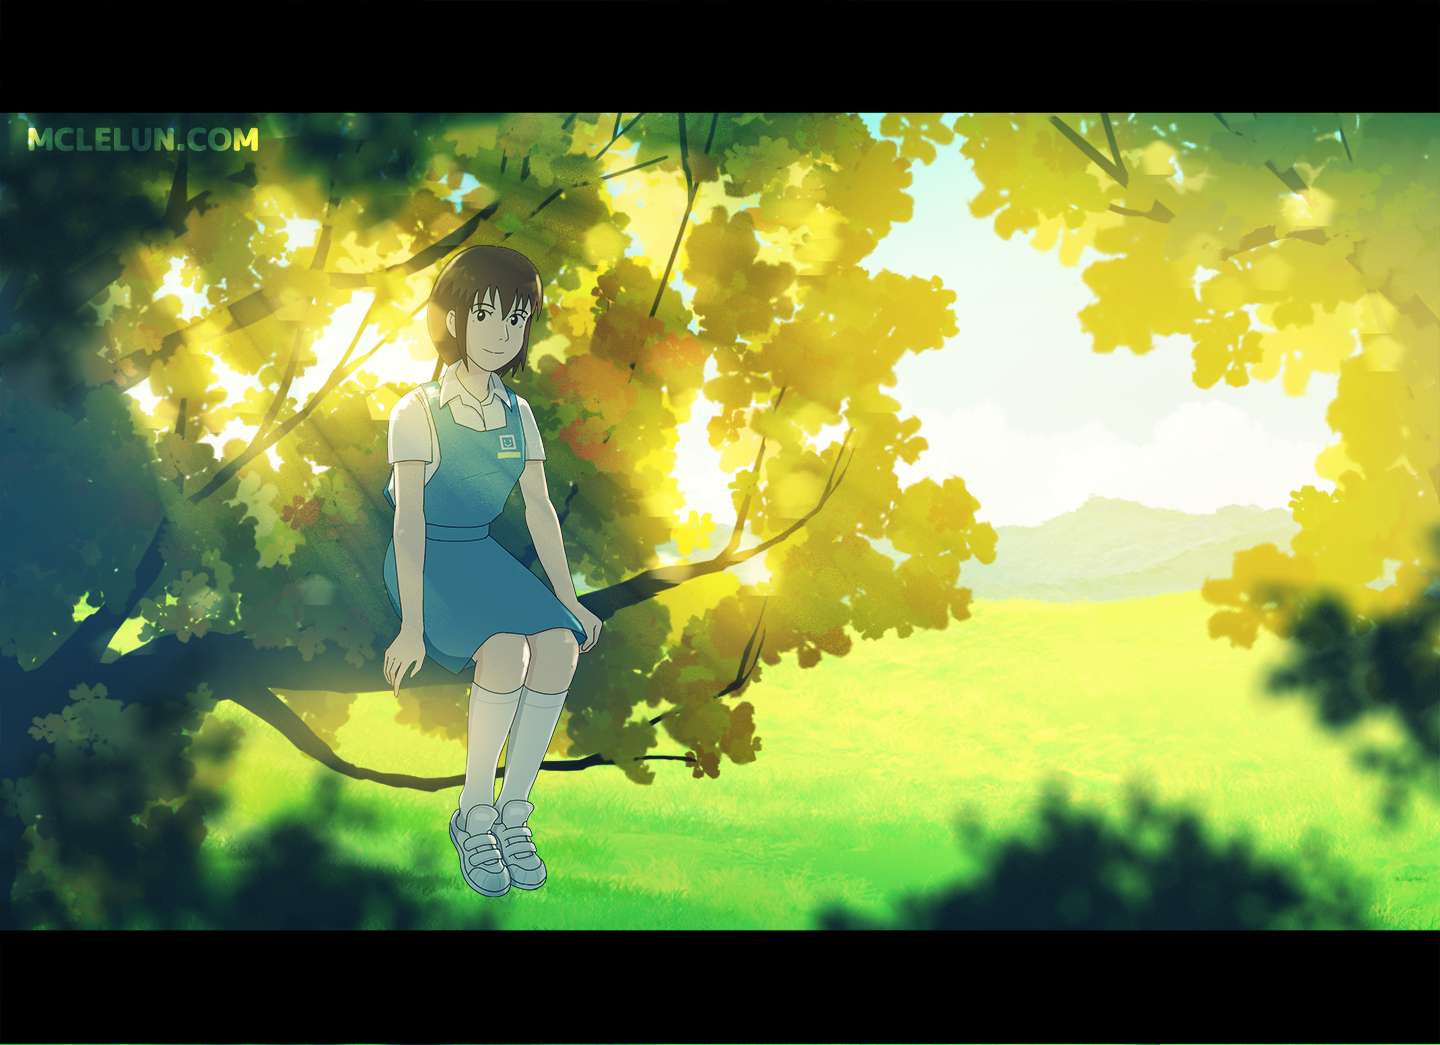
Reference
DeviantArt Light Ray TutorialDeviantArt Ghibli style girl sitting on tree
Deviantart Morning
Deviantart Beam
Youtube Light ray using procedural texture
Comments
Post a Comment